

MOFI Gold-Plated AC Power Tail Plug-In 10A EMI Filter Socket For HiFi Audio(New Design)
KIT10a With Socket
$42.26
Sale price
$42.26
Regular price
$0.00
Skip to product information


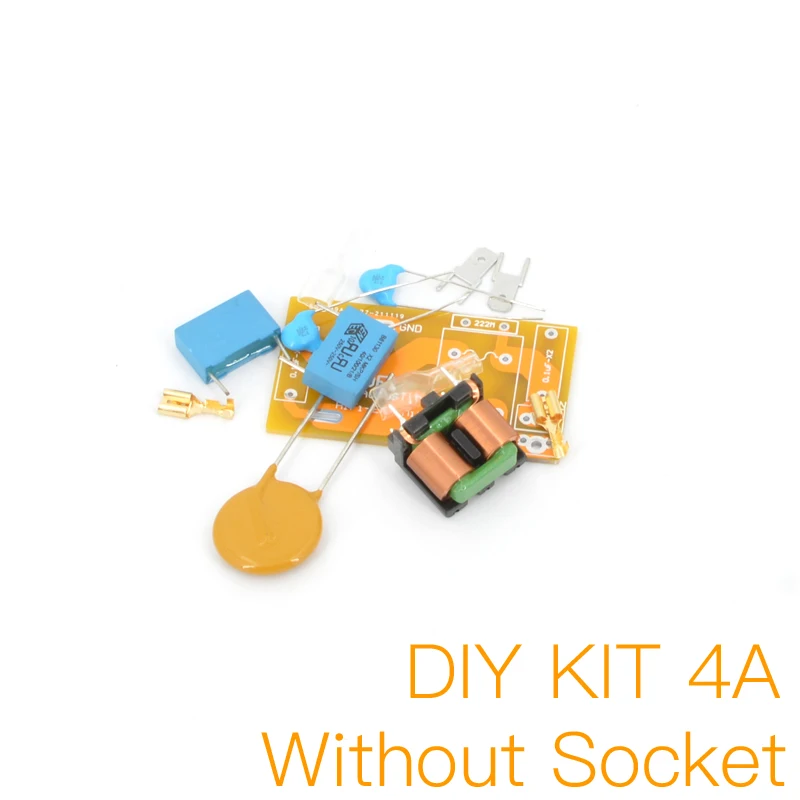
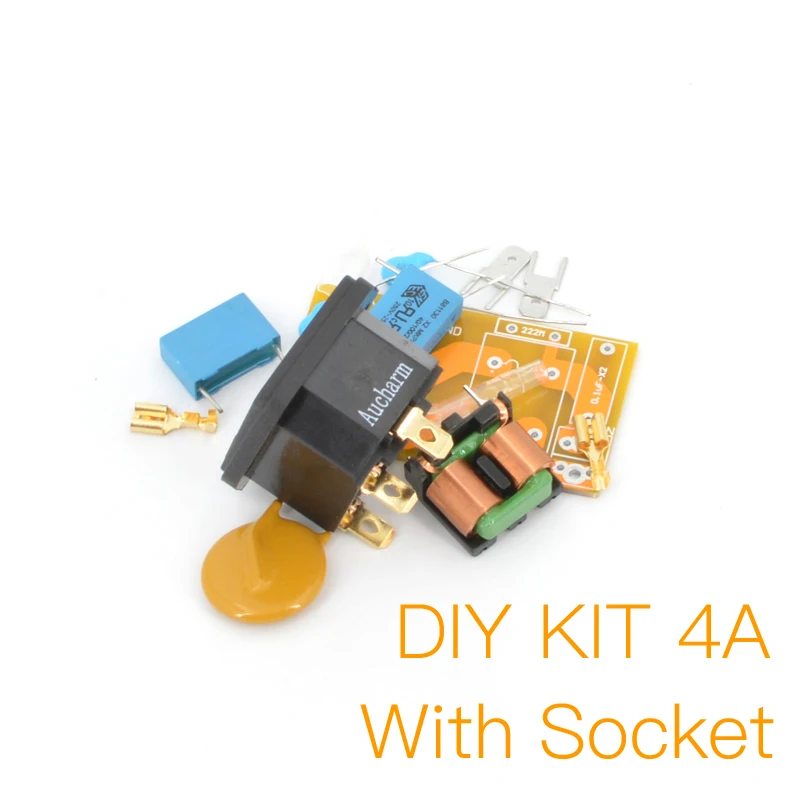


MOFI Gold-Plated AC Power Tail Plug-In 10A EMI Filter Socket For HiFi Audio(New Design)
$42.26
Sale price
$42.26
Regular price
$0.00
Description
SPECIFICATIONS
Brand Name: OnifealiMajeson
Choice: yes
High-concerned chemical: none
Origin: Mainland China
semi_Choice: yes
DIY KIT Project
To complete this project, high level knowledge of electronics and rich experience in terms of soldering and testing are required.
Due to time zone and language communication restrictions, we can only provide limited technical support, and you need to solve problems by yourself.
We do not provide information other than the product introduction page.
MOFI Gold-Plated AC Power Tail Plug-In 10A EMI Filter Socket For HIFI Audio(New Design)Project
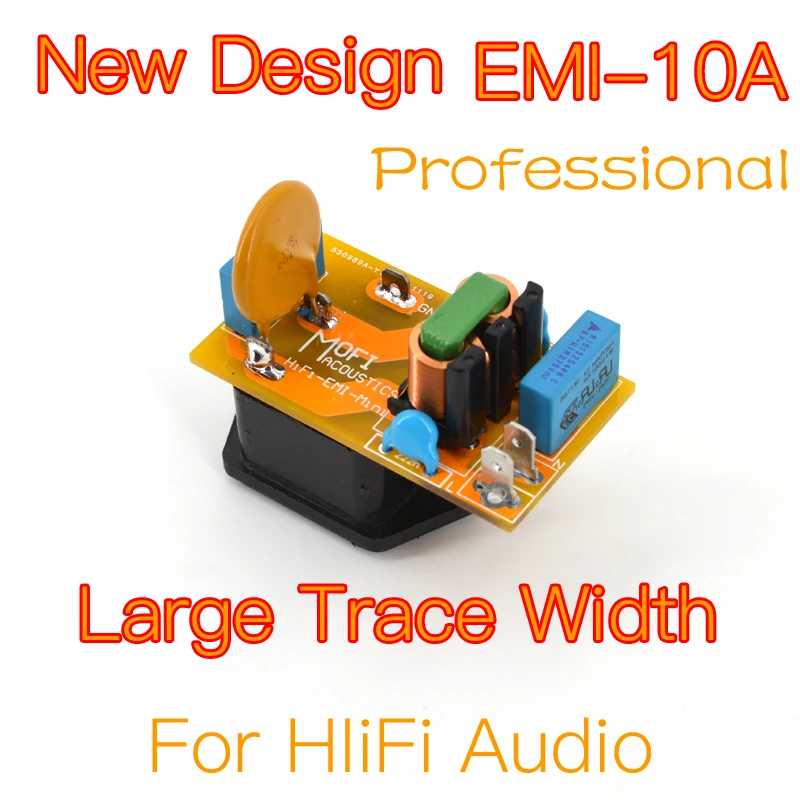
New Design
This product is used for AC 100-240V filtering.
Have anti-voltage surge function.
Large trace width 10A capability.
Innovative flat wire common mode inductor.
He components on the board will generate high voltage through the mains power. Please be careful not to touch the circuit board and its components to avoid electric shock.
PCB Size 57mm X 32mm
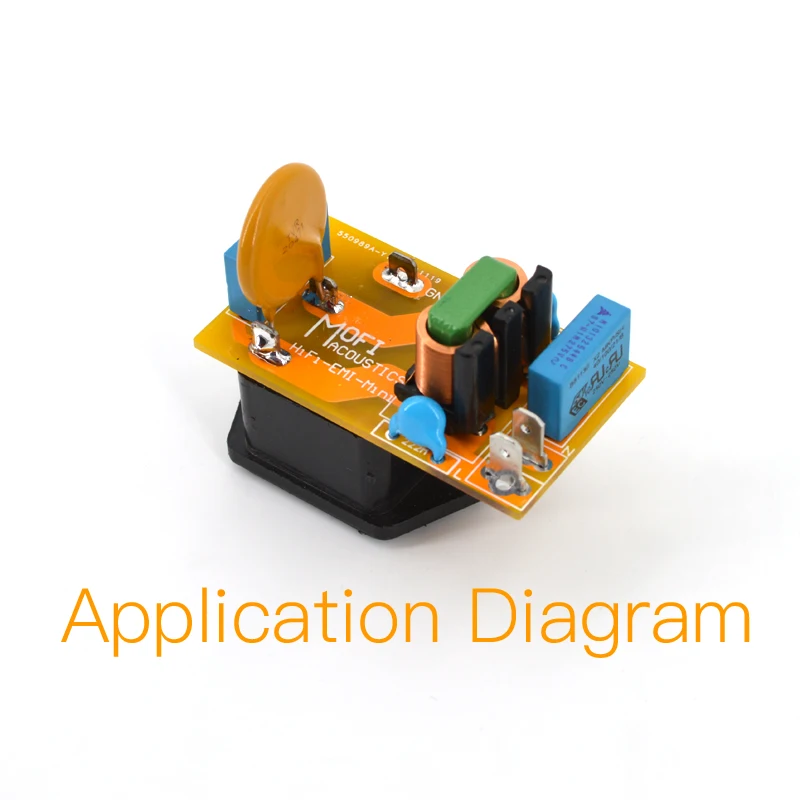
Application:
Please reserve 30% redundant power for the board.
Take 4A as an example
When your mains power is 220V AC, the maximum support power is 880VA, it is recommended that the load power of transformer less than 600W
When your mains power is 110V AC, the maximum support power is 440VA, it is recommended that the load power of transformer less than 300W.
Product configuration
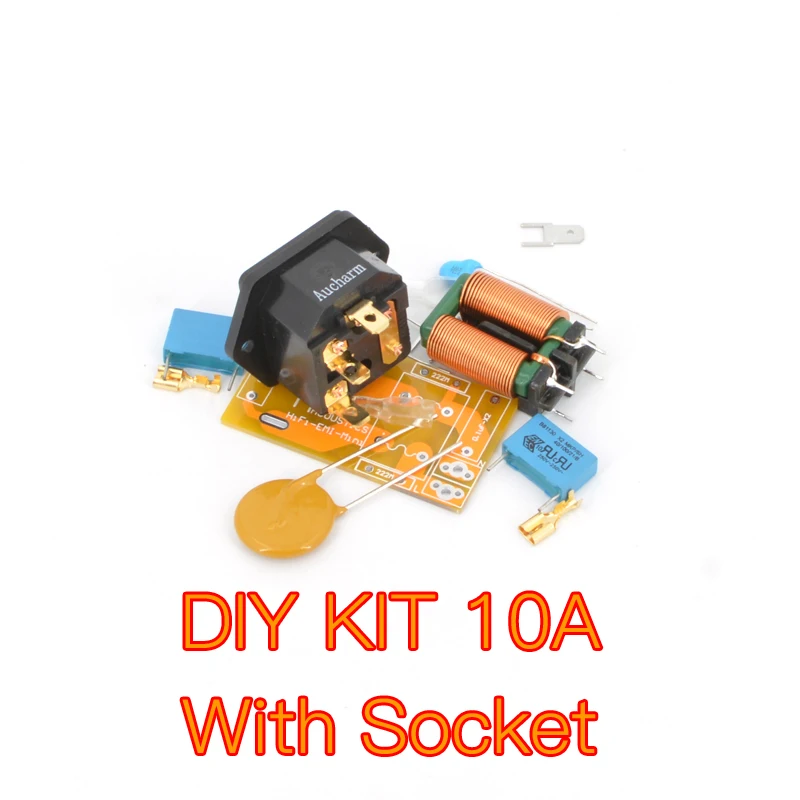
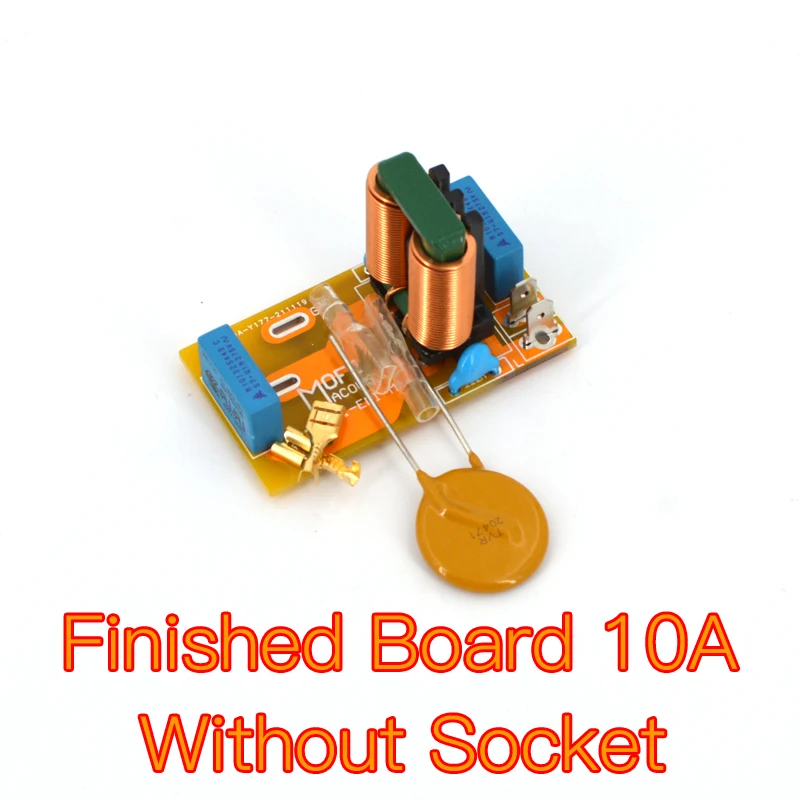
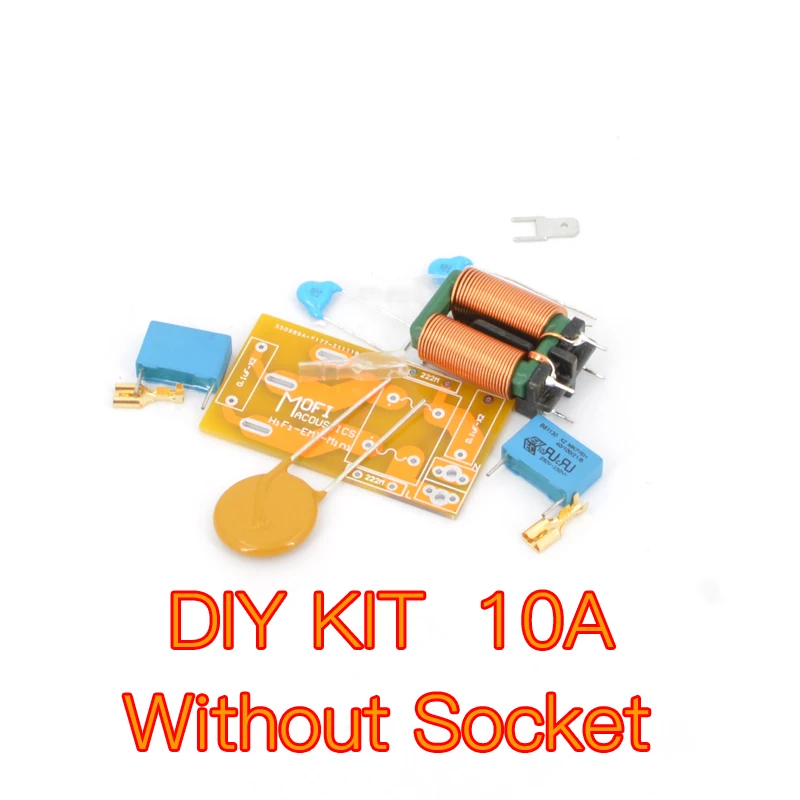
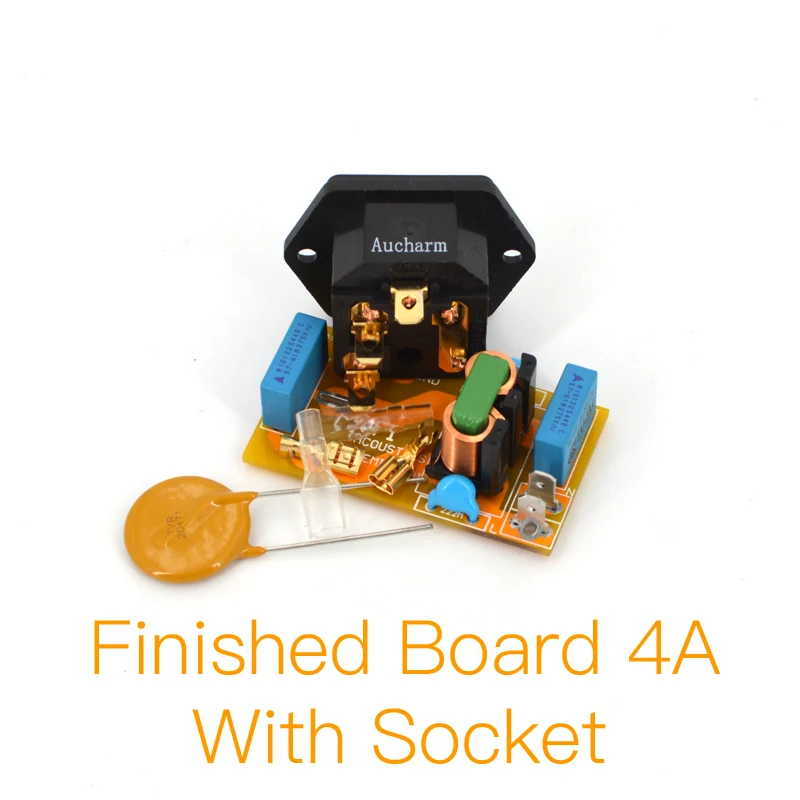
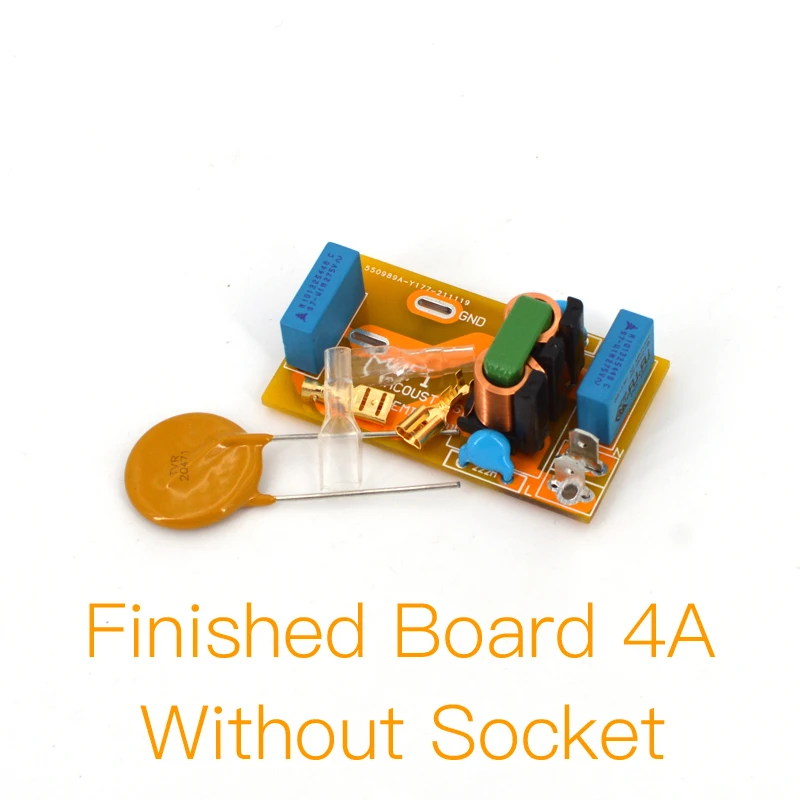
DIY kit: Contains the PCB and the components needed on the PCB, but does not include the power transformer .
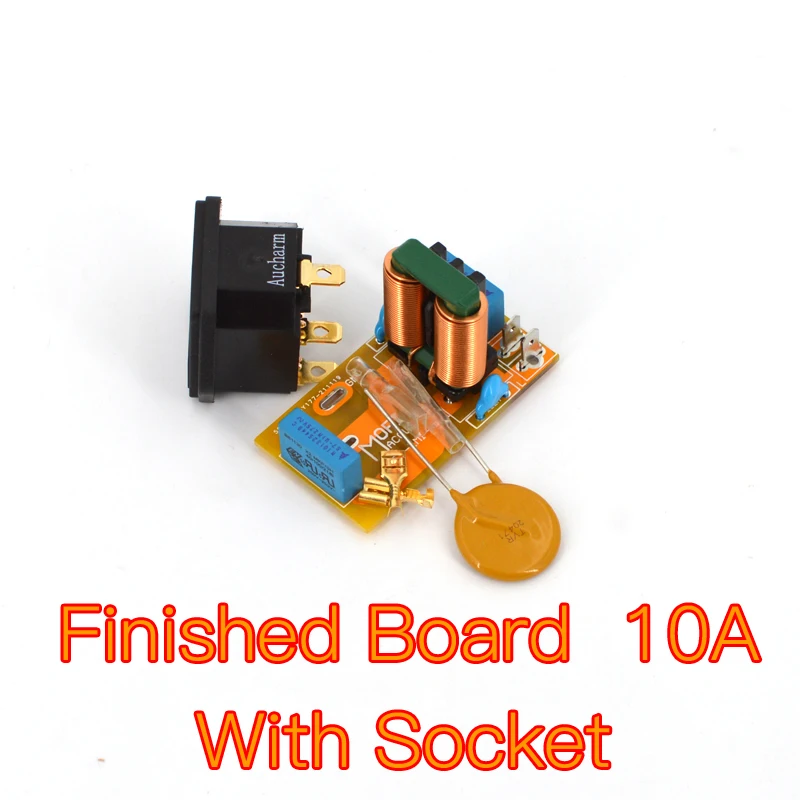
Finished board: Based on the well-tested board on the standard version kit, we verified all key points' voltage, and used the signal generator and oscilloscope for analog waveform double verification. We will not use this board for listening test.
All finished pcbs are all carefully hand-soldered and fully tests, so the price is higher and less cost performance. Price-sensitive consumers but with have DIY ability are recommended to choose the kit.
DIY KIT Instructions
Since the PCB holes are plated through, you only need to solder the parts from the bottom of the board. Do not drill or enlarge the holes because that would damage the through-plating.
Clean both sides of the blank PCB with paper towel and isopropyl alcohol or electronics flux remover, then solder the components to the board, starting with the lowest profile parts.
Make sure the correct part goes into each position on the circuit board.
Pay attention to the polarity of electrolytic capacitors, diodes, , as well as the orientation.
Clean up the solder flux residue from the board with isopropyl alcohol (or electronics flux remover) and a brush.
Inspect all solder connections carefully, using a magnifying glass, to make sure there are no solder bridges or cold solder joints. Use a multimeter in ohms scale to check for short circuits.
Free Shipping Over $199
- Standard Shipping: Standard Shipping (12–18 Business Days)
- Express Shipping: Expedited Shipping (5–9 Business Days)
- Free Shipping: Orders over $199 qualify automatically
- Tracking: Full tracking number provided for all orders
30-Day Return Policy
- Returns: 30-day hassle-free return window
- Condition: Items must be unused and in original packaging
- Refund: Full refund processed within 3-5 business days
Why Choose Us?
- Factory Direct: ISO/TS 16949 certified manufacturer
- Quality: 100% electrical continuity tested before shipment
- Experience: 15+ years in automotive connector industry
- Support: Professional technical support available

You may also like
Blog posts
Title
An excerpt of your blog post's content
Title
Date|Author
Subscribe to our emails
Be the first to know about new collections and special offers.